# How to communicate interactively in trame server and client?
**URL:** https://discourse.paraview.org/t/how-to-communicate-interactively-in-trame-server-and-client/12583
**Category:** Web Support
**Tags:** python, vtk
**Created:** [July 26, 2023, 9:28am UTC](https://discourse.paraview.org/t/how-to-communicate-interactively-in-trame-server-and-client/12583 "2023-07-26T09:28:25Z")
**Posts on this page:** 5
**Page:** 1
### Author:  [@qlhai](https://discourse.paraview.org/u/qlhai)
#### Post date: [July 26, 2023, 9:28am UTC](https://discourse.paraview.org/t/how-to-communicate-interactively-in-trame-server-and-client/12583/1 "2023-07-26T09:28:26Z")
Hi, I use trame\_tutorial/04\_application/solution.py([https://github.com/Kitware/trame-tutorial/blob/master/04\_application/solution.py](https://github.com/Kitware/trame-tutorial/blob/master/04_application/solution.py)) to display my vtu file, and it worked. Now I want to create a trame client to interact with the server. Can someone give me an example or give some reference?

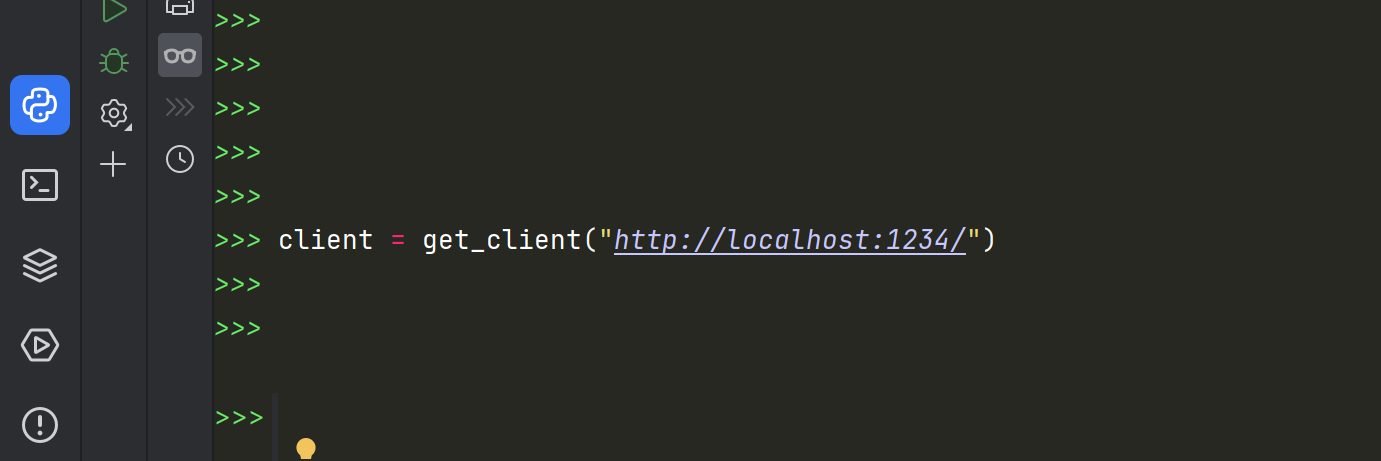
I create a trame client, then how to communciate with the server? I want to control the selection drop-down box and Opactiy through the client.
---
### Author:  [@jourdain](https://discourse.paraview.org/u/jourdain)
#### Post date: [July 26, 2023, 5:01pm UTC](https://discourse.paraview.org/t/how-to-communicate-interactively-in-trame-server-and-client/12583/2 "2023-07-26T17:01:58Z")
Can you elaborate on what you mean by trame client? (browser, javascript component, another python process, …, ?)
---
### Author:  [@qlhai](https://discourse.paraview.org/u/qlhai)
#### Post date: [July 27, 2023, 2:08am UTC](https://discourse.paraview.org/t/how-to-communicate-interactively-in-trame-server-and-client/12583/3 "2023-07-27T02:08:21Z")
My goal is to use a python process to control the graphic display on the server side. So I want to use the trame.app.get\_client api to create a client instance in a Python script. I read some source code, it should be communicated with websocket, but I don’t know how to do it.
---
### Author:  [@jourdain](https://discourse.paraview.org/u/jourdain)
#### Post date: [July 27, 2023, 1:49pm UTC](https://discourse.paraview.org/t/how-to-communicate-interactively-in-trame-server-and-client/12583/4 "2023-07-27T13:49:36Z")
I see, so you have a fully working trame app (client+server), but you want another process (python) to start driving that app “remotely”.
Then indeed the `get_client` method is the way to go. Except that the url that needs to be passed is the websocket endpoint not the http website.
Once connected, you will have access to a state variable that let you do the same thing as on the server. You can modify it or react to it.
With [that example](https://github.com/Kitware/trame-server/tree/master/examples/client-server), you can see that the url passed is `ws://localhost:1234/ws`. But that assume, the main trame process is ran locally with `--port 1234` as arg.
Does it make sense?
---
### Author:  [@qlhai](https://discourse.paraview.org/u/qlhai)
#### Post date: [July 29, 2023, 2:24am UTC](https://discourse.paraview.org/t/how-to-communicate-interactively-in-trame-server-and-client/12583/5 "2023-07-29T02:24:33Z")
Thanks a lot, this example is exactly what I was looking for. I built my app with this and it worked.