Some time ago and thanks to hints that I got here in the forum I managed to attach 2D text labels to point items in 3D space. Basically that is working with a plain XML based representation that makes the vtkDataLabelRepresentation class accessible.
Right now I am trying to generate similar “labels” that do not display text but 2D images in a similar way. In some ways I still do not really know what I do with “actors”, “mappers” etc. and what their exact purpose is (but I am learning!), so I simply “cloned” that vtkDataLabelRepresentation class, kicked out many of the properties that are not applicable to images and replaced the vtkTextMapper by a vtkImageMapper. And in a test with a little dummy image it worked - almost!
This is the dummy image, a PNG file, in a GIMP screenshot of another GIMP window:
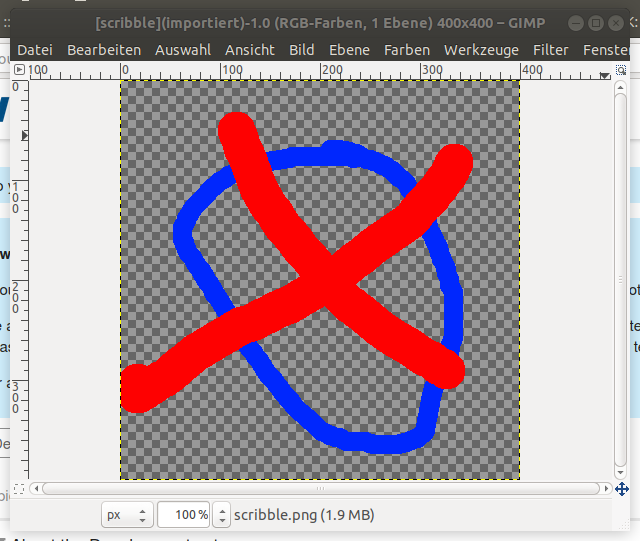
With that GIMP window you can also see that the image has a “transparent” background and some full color red and blue lines.
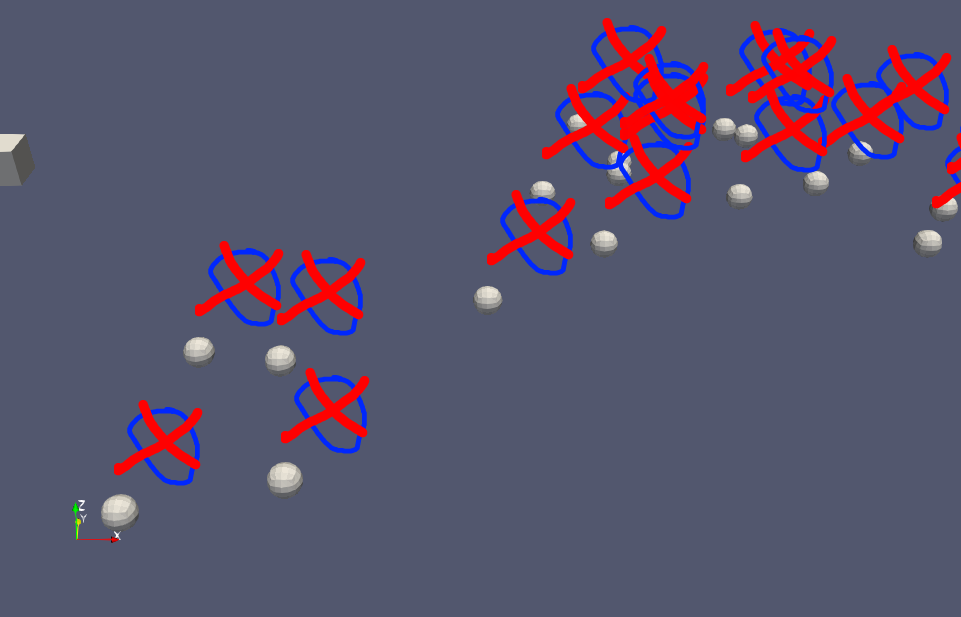
And this is what I get now in ParaView:
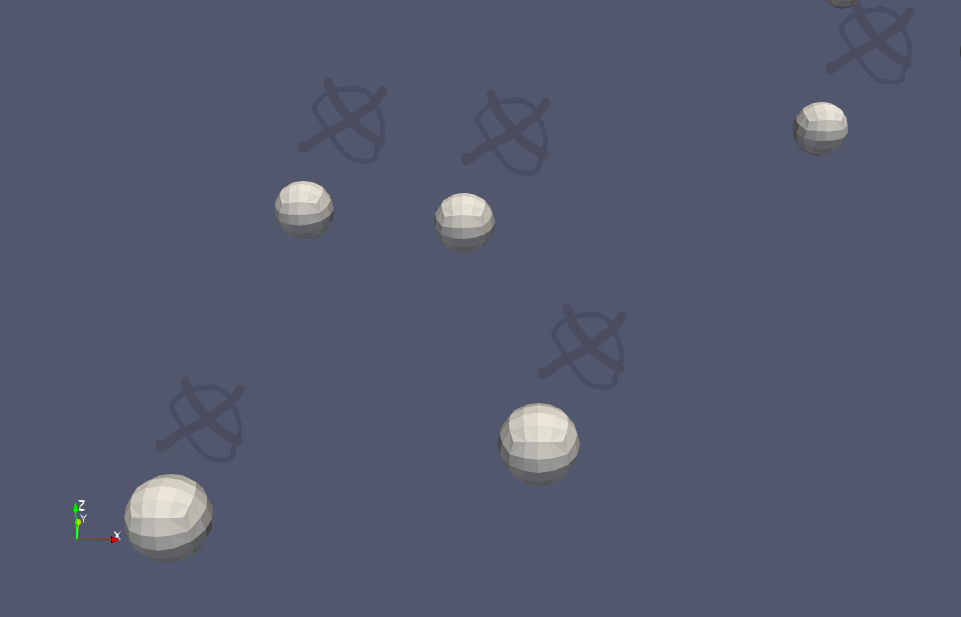
You can see that the little “spheres” are “labelled” with the above test image, but in a way that they are “mostly opaque”. What I would like to achieve is a display where they would appear full color at the blue and red lines, not transparent where alpha is not indicating it.
What I see as well: Colors are indeed not only dimmed, but transperent, i.e. you can see spheres “through” the image. Furthermore do the images not have a “depth location”, or rather: It is in front of everything (even if they are “attached” so a point in space), but that’s ok for me! (If I wanted to change that I would have to generate little “planes” in space and “drape” the images to them, but that’s another story and not relevant for the given case).
The question is now: Where or how can I change this opacity behaviour? To me it looks like that the alpha channel of the image is somewhere somehow multiplied with some factor which is less than 1, so 0 remains 0, while “full color” is now something semi-transparent.